Water damage on window sills is a common issue faced by many homeowners. Over time, moisture from rain, snow, and humidity can cause the wooden sills to warp, rot, or develop unsightly stains. If left untreated, this can lead to more extensive damage to your window frame or even the structure of your home.
However, repairing water damage on window sills is a manageable task if caught early. Whether you’re dealing with minor staining or more severe rotting, this blog will guide you through effective methods to restore your window sills to their original condition.
Signs of Water Damage on Window Sills
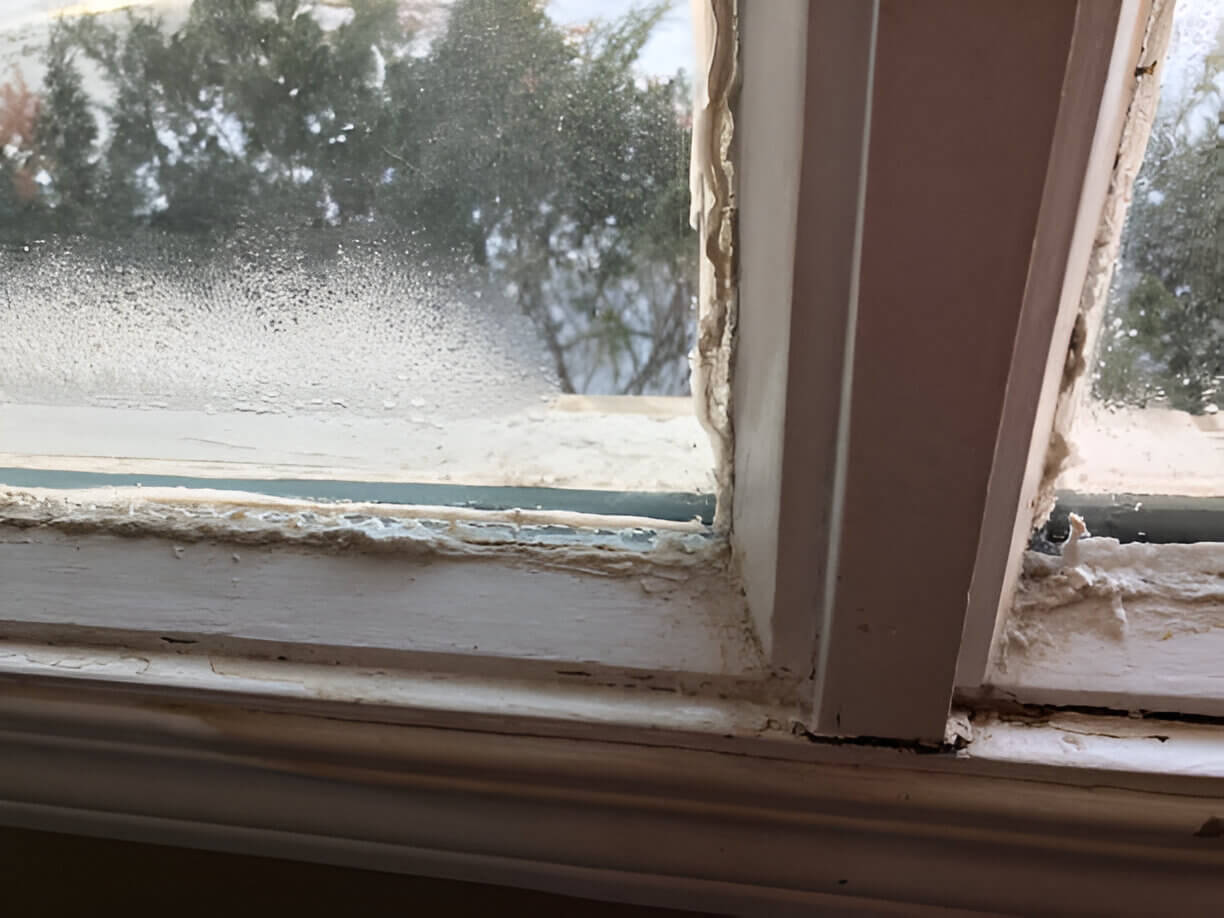
Before diving into the repair process, it’s important to know how to identify water damage on your window sills. Some of the most common signs include:
- Discoloration: Water stains or darker patches on the wood are often the first signs of damage.
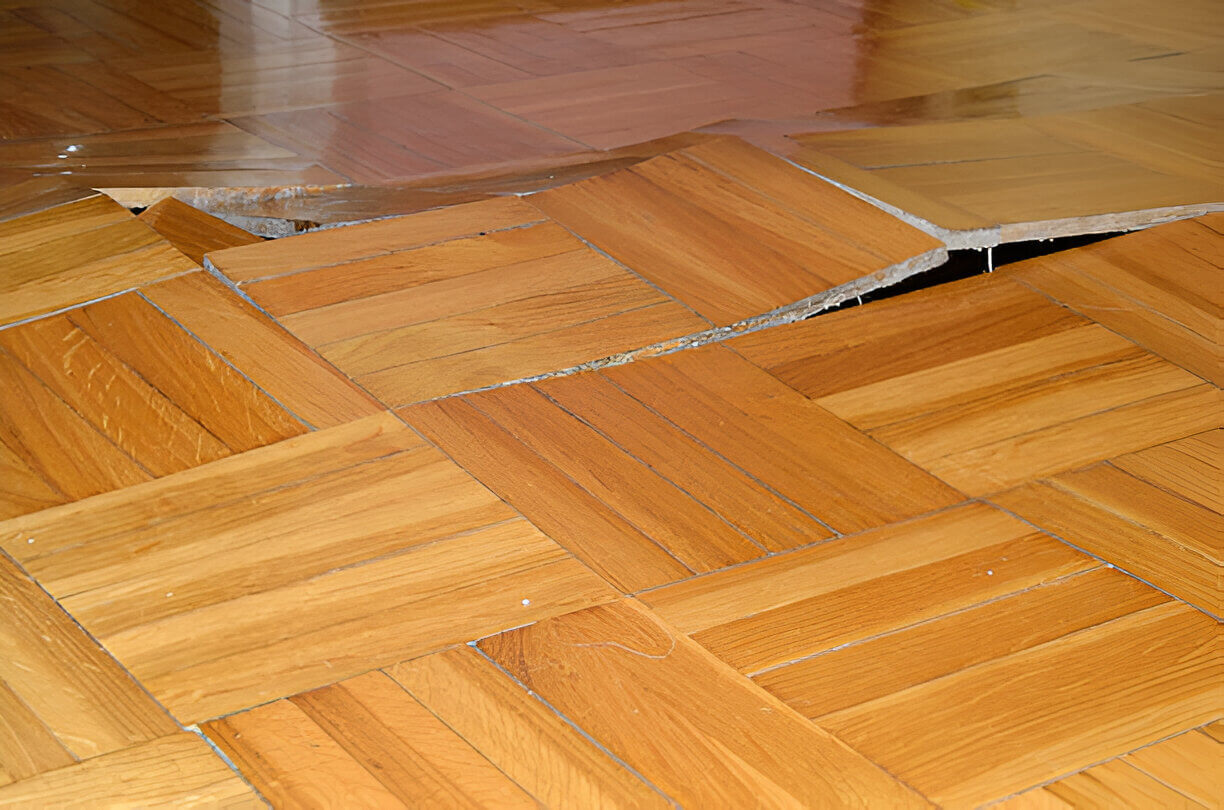
- Warping or Swelling: If the sill feels soft or swollen, it may have absorbed excess moisture.
- Cracking or Peeling: Paint or varnish may crack or peel away from the wood due to prolonged exposure to water.
- Mold or Mildew Growth: Damp conditions can foster the growth of mold, which can be harmful to both the wood and your health.
Steps to Repair Water Damage on Window Sills
If you’ve noticed any of these signs, it’s time to take action. Here’s how you can repair water damage on window sills.
1. Assess the Damage
The first step is to assess the extent of the damage. For minor water stains and discoloration, the repair process will be relatively simple.
However, if the window sill is rotting or extensively warped, you may need to replace the affected wood. It’s important to identify whether the damage is confined to the surface or has spread deeper into the wood. Also, check your drywall for water damage.
2. Gather Your Materials
To repair minor water damage, you will need the following materials:
- Sandpaper (medium and fine grit)
- Wood filler or epoxy resin (for filling cracks or holes)
- Wood stain or paint
- A putty knife or spatula
- A cloth for cleaning
- A paintbrush or foam brush
- Sealant (to prevent future water damage)
3. Clean the Area
Before starting any repairs, thoroughly clean the window sill. Use a damp cloth to wipe away any dirt, dust, or debris. If there is mold or mildew present, consider using a mild cleaning solution or vinegar to remove it. Be sure to let the sill dry completely before proceeding.
4. Sand the Damaged Area
For minor water stains or rough patches, sanding is the most effective solution. Start with medium-grit sandpaper and gently sand down the affected area to remove the discoloration and smooth out any roughness caused by swelling or warping. Once the surface is even, finish with fine-grit sandpaper to create a smooth, polished surface.
5. Apply Wood Filler
If the water damage has caused cracks or holes in the window sill, use wood filler or epoxy resin to repair these areas.
Apply the filler with a putty knife, pressing it into the damaged spots. Once the filler has dried (according to the manufacturer’s instructions), sand the area again to ensure a smooth and even surface.
6. Stain or Paint the Sill
Once the damaged area is smooth, you can restore the appearance of your window sill by applying wood stain or paint.
Choose a stain or paint that matches the rest of your window sill, and apply it evenly with a brush. If you’re using paint, consider applying a waterproof or water-resistant finish to protect the wood from future damage. Allow it to dry thoroughly before applying a second coat, if necessary.
7. Seal the Sill
To prevent future water damage, it’s essential to seal the window sill. Apply a clear waterproof sealant to the surface of the sill. This will help protect the wood from moisture and reduce the chances of future damage.
Be sure to reapply the sealant periodically, especially after cleaning or refinishing the wood.
Preventing Future Water Damage on Window Sills
While repairing existing water damage is important, it’s equally crucial to prevent future issues. Here are some steps you can take to protect your window sills from future damage:
- Install weatherstripping: Ensure your windows are sealed properly to prevent rainwater or moisture from entering.
- Check for leaks: Regularly inspect your windows for signs of leaks and repair them promptly.
- Use window coverings: Curtains or blinds can help reduce the amount of direct moisture on your window sills.
- Ensure proper ventilation: Good airflow in your home can reduce humidity levels, preventing excessive moisture buildup around windows.
Conclusion
Repairing water damage on window sills is a straightforward process that can restore the beauty and functionality of your windows.
Whether you’re dealing with minor stains or more severe damage, taking the right steps to clean, sand, and seal your window sills will ensure they stay in top condition for years to come.
While many water damage repairs can be handled with DIY methods, sometimes the damage is more extensive than it appears.
For homeowners looking for expert restoration services, PNW Restorations offers professional water damage repair services that can help restore your home’s windows and prevent further issues.
You Can Also Read: How Smart Home Automation Can Increase Your Home Value?


