


Waterproofing in the bathroom is an essential step in designing or remodeling a bathroom. In the absence of waterproofing, there is the risk of corrosion, compromise of the electrical system, mold, rotting of materials, and even health problems due to these effects on sanitary objects. Below, you can read more details about waterproofing, from its benefits to the necessary steps, materials, and accessories.
The need for waterproofing in the bathroom
First, waterproofing is indicated to prevent water infiltration due to possible cracks in walls, floors, or dripping pipes. Although tiles and tiles are waterproof, they are the most suitable materials for the bathroom, and we cannot say the same about grouted joints. So, water can seep not only through pipes and walls but also through joints.
An uninsulated bathroom can cause several unwanted effects, including:
- Moisture and mold;
- Damage to finishes and installations;
- Reducing the strength of concrete slabs;
- Flooding of neighbors (if you live in the block).
As a rule, the floor is insulated first, and then the walls near the bathtub/shower cabin and possibly the sink. It is not mandatory to insulate the other walls in the bathroom.
The benefits of waterproofing in the bathroom
Bathroom waterproofing brings many benefits:
- You will preserve the integrity of the walls and floor. Waterproofing is necessary regardless of whether the walls are made of concrete, plasterboard or bricks;
- The risk of transmitting moisture to the nearest rooms or the neighbors’ properties is significantly reduced;
- You will prevent damage to pipes and other elements of the sanitary installation, including corrosion;
- You will avoid the tiles coming off due to the deterioration of the adhesive properties when in contact with moisture;
- You will prevent mold and moisture, as well as their consequences in terms of comfort and health;
- You will prevent the unpleasant smell that can result from the presence of water drops. The humid air will not stagnate, you will not have to change the light bulbs often (as a result of damage), and the smell in the bathroom will be natural;
- You will not have problems with the electrical installation;
In the absence of water accumulation, the ventilation system and the humidity sensor (if applicable) will work correctly and efficiently, eliminating the humidity that inevitably forms with each shower;
By choosing quality waterproofing, you will prevent long-term investments (changing tiles/tiles, replacing some sanitary items, etc.).
The necessary steps for bathroom waterproofing
Although there are particularities, the waterproofing of a bathroom follows the steps below:
- Clean the walls – before applying the waterproofing material; the walls must be cleaned of dirt, grease, and dust;
- Apply the primer – To ensure the waterproofing is fixed, a primer layer is applied. This will increase the absorption capacity of the floor and walls. Depending on your preferences, you can apply the primer using a brush or a roller;
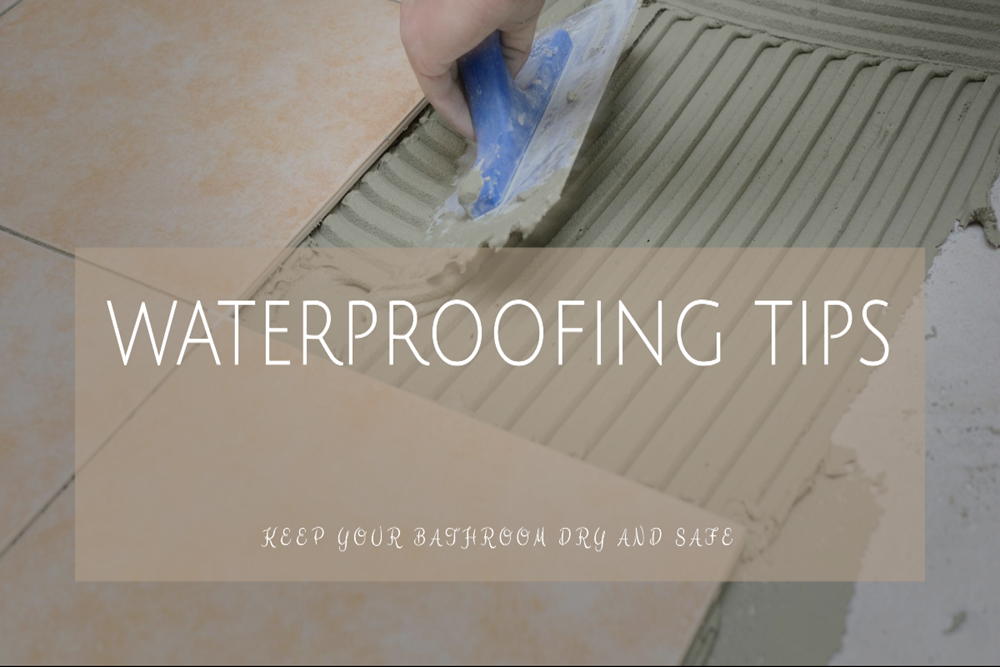
- Apply the first coat of waterproofing – if you choose waterproofing paint, you must apply two coats on the floor and walls and near the bath/shower. This paint can be applied using a roller, a stencil, or a broad brush;
- Apply the sealing tape – To increase the waterproofing, the sealing tape must be applied to the joint between the wall and the screed. And this is waterproof;
- Apply the second coat of waterproofing – two hours after the first coat of waterproofing paint is the time to apply the second coat. It is essential to paint in the reverse direction of the first coat for extra protection. The sealing strips must be covered with waterproofing paint. Let it dry for 3-4 hours;
- Lay the tiles and tiling – once the waterproofing paint has dried, you can easily apply the finishes.
Types of materials for waterproofing in the bathroom
Bathroom waterproofing can have certain particularities, depending on the type of material used. That’s why it’s important to know what kinds of bathroom waterproofing materials you have available:
- The solid waterproofing membrane is available in rolls of different sizes. It is applied to the adhesive layer; the latter is applied over the layer of waterproofing paint that is applied over the primer;
- Liquid waterproofing membrane – applies faster and has similar results. It is applied directly over the primer in two layers immediately after cleaning the surfaces;
- Latex and cement-based mortar – cement improves the strength of the waterproofing layer, and latex provides flexibility and prevents water penetration. It is an aqueous dispersion and can be applied directly to the wall after priming.
- The choice of these materials depends on the bathroom and the builder’s experience.
Choose the professional waterproofing services in Melbourne to ensure your bathroom is effectively protected from water damage and moisture buildup, safeguarding your property and promoting a healthy living environment for you and your family.
Necessary accessories for the insulation of pipes in the bathroom
To waterproof the bathroom, you need several accessories, depending on the material used. You will need expanded polyethylene insulation pipe se,lf-adhesive insulation pipe or high-density polyethylene installation, elastomer insulation (for pipe insulation), HTS elastomer insulation (for solar hot water preparation, if applicable), And so on.
Tools such as a silicone gun, masking tape, a paintbrush, a tray for removing excess paint, and a level can be added.
Tips to prevent moisture build-up in the bathroom
Although you have chosen good waterproofing, moisture can accumulate on the external surfaces inside the bathroom. Here’s what you can do to prevent moisture build-up:
- Use a bathroom fan – turn it on when you shower.
- This device will remove moisture and damp air from the bathroom. For best results, turn it on 5-10 minutes before you shower and leave it on for 20 minutes after you’re done. It is also essential to clean the filters regularly, as they can become clogged;
- Open the door – you can keep it open during the shower (if possible) or after the shower. Thus, the air with water vapor does not stay in the bathroom but will circulate. To ensure its removal, make sure you keep a window open. Combined with the fan, you will quickly remove humidity from the bathroom;
- Open the windows – not everyone has windows, so this step is optional;
- Wipe down the tub and tiles – if the walls or floor are very wet, it is advisable to use a sponge to absorb the excess. The same goes for the tiles; use a mop to absorb excess water. Also, if you have a shower curtain, use it to ensure that water droplets only reach nearby surfaces;
- Wipe down the mirror – it will steam up as you shower. By wiping it, you will remove excess water drops, and its surface will be cleaner;
- Heats the bathroom – condensation requires a cold surface. In other words, keeping the bathroom warm when you shower is a good idea. Thus, you will prevent the accumulation of moisture on the surfaces. If you have underfloor heating, this will prevent the accumulation of moisture on the tiles, and if you want a complete guide on the advantages of installing parquet in the bathroom, I have prepared an article with all the information you need.
- Dry your towels outside – any wet towels should be kept outside to dry. By exposing wet materials, you risk increasing the humidity level in the bathroom;
- Fix plumbing problems as soon as they arise – if you need to use a dehumidifier to reduce steam in your bathroom, it’s probably time to call a plumber. Wet spots on surfaces, peeling paint, or mold, may indicate a problem.
Waterproofing the bathroom is an important step to prevent moisture from entering the finishes and extend their life. Also, with waterproofing, you maintain a pleasant and healthy ambient environment for the whole family.